From Prototype to Production: How 3D Printing Accelerates Your Development Process
Faster from idea to product with rapid prototyping. Discover how businesses use 3D printing to shorten development time and create better products.
Dennis
3Dennis
Contents
The traditional product development process takes months. Design, engineer, order tooling, wait, test, discover what’s wrong, start over. Every iteration costs time and money, and most products need multiple iterations.
3D printing compresses this process dramatically. From months to weeks, from weeks to days. In this article, we show how rapid prototyping transforms your development cycle.
The problem with traditional prototyping
The waiting cycle
Imagine: your engineering team has completed a new product design. They’re excited, the design looks good on screen. Now it needs testing in the real world.
With traditional manufacturing, the waiting begins:
- Request quotes from machine shops: 1-2 weeks
- Prototype production: 3-6 weeks
- Shipping: 1 week
Eight weeks later you finally have something in hand. The team tests it, discovers problems, and starts over. Another eight weeks. At three iterations - normal for a new product - you’re already half a year in before you can even think about production.
The cost barrier
Every prototype costs not only time but also money. CNC milled prototype: hundreds to thousands of euros. Cast prototype: even more. These costs inhibit experimentation.
Teams become conservative. They test fewer variants, take fewer risks, and consequently often miss the best solution. “Good enough” beats “optimal” because optimal is too expensive to find.
Rapid prototyping changes the rules
From weeks to hours
With 3D printing, the timeline is fundamentally different:
- Upload CAD file: 5 minutes
- Slicing and print setup: 30 minutes
- Printing: 4-12 hours (depending on size)
- Post-processing: 1-2 hours
Within 24 hours you have a physical prototype in hand. Not a scale model or visual mockup, but a functional part you can test.
Test today, improve tomorrow
This speed enables a completely different workflow. Design in the morning, print in the afternoon, test in the evening, improve the next morning. Iterations that used to take months now happen in days.
An engineering team can run more iterations in a week than traditionally in a quarter. The result: better products, faster to market.
Experiment without fear
When a prototype costs €20 instead of €500, behavior changes. Teams dare to experiment. Wild ideas get a chance. Testing five variants becomes feasible.
We see this regularly with clients. The first time they’re cautious, test one variant. When they discover how fast and cheap it is, the number of experiments explodes. And products demonstrably improve.
The rapid prototyping process
Phase 1: Concept validation
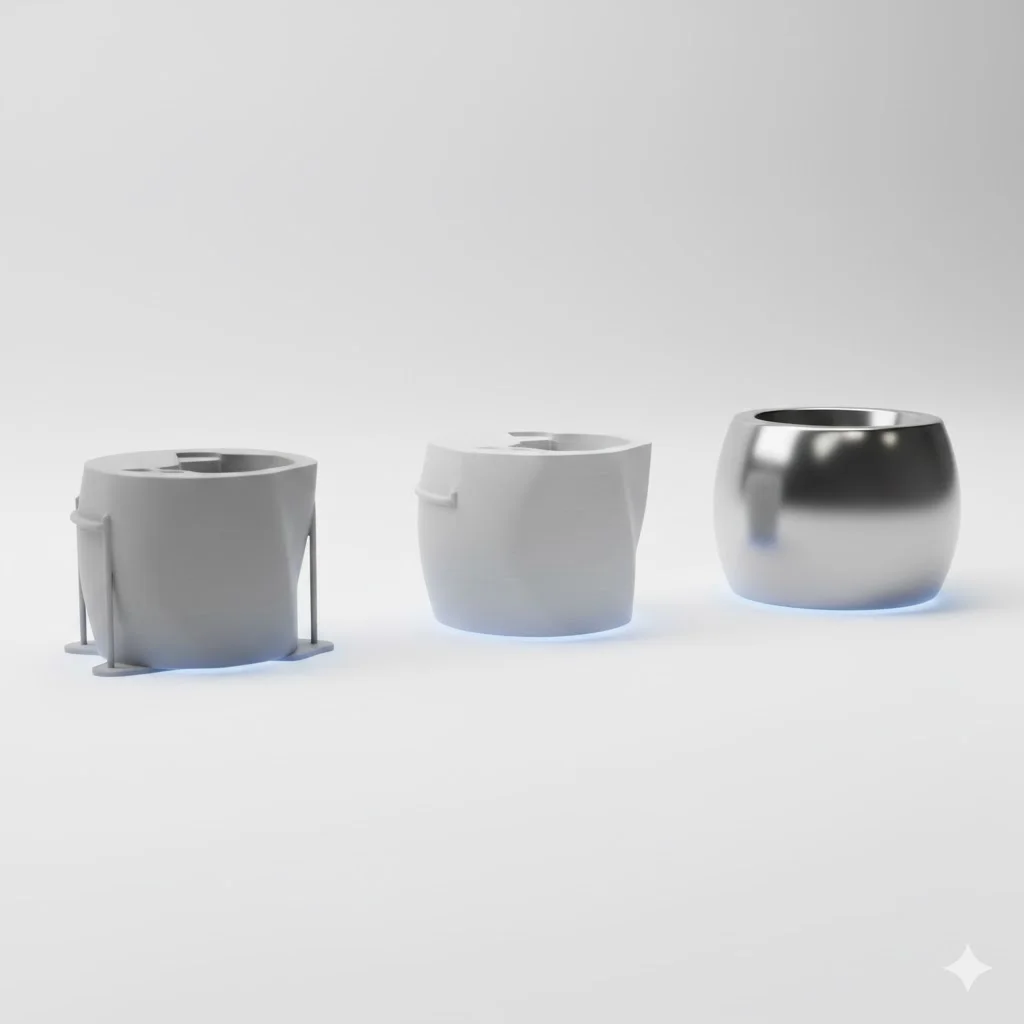
The first prototypes don’t need to be perfect. The goal is validating the concept: does the principle work? Do the parts fit? Does the ergonomics feel right?
Print in cheap PLA, accept rough finish, focus on function. This is the moment to find big mistakes before investing time in details.
Phase 2: Functional testing
The concept works, now you need to refine it. Print in the intended production material (or as close as possible) and test under realistic conditions.
Mount electronics in it. Put it outside in the rain. Let users work with it. Collect hard data on what works and what doesn’t.
Phase 3: Production validation
The design is stable. Now print specimens as close as possible to the end product. Test assembly, packaging, and logistics. Train production and support with these pre-production samples.
Phase 4: Pilot production
Before investing in mass production, run a pilot. Sell the first 50-100 pieces. Collect customer feedback. This is your last chance for adjustments without major costs.
3D printing makes this pilot economically feasible. You don’t have to wait until volumes justify mass production.
Practical examples
Medical device developer
A startup develops an innovative medical device. The traditional route to market would take three years, with enormous upfront investments in tooling for each iteration.
With rapid prototyping, they went through 47 design iterations in six months. They tested with doctors, collected feedback, and continuously refined. The end product was better than they had dared hope, and time-to-market was halved.
Industrial automation
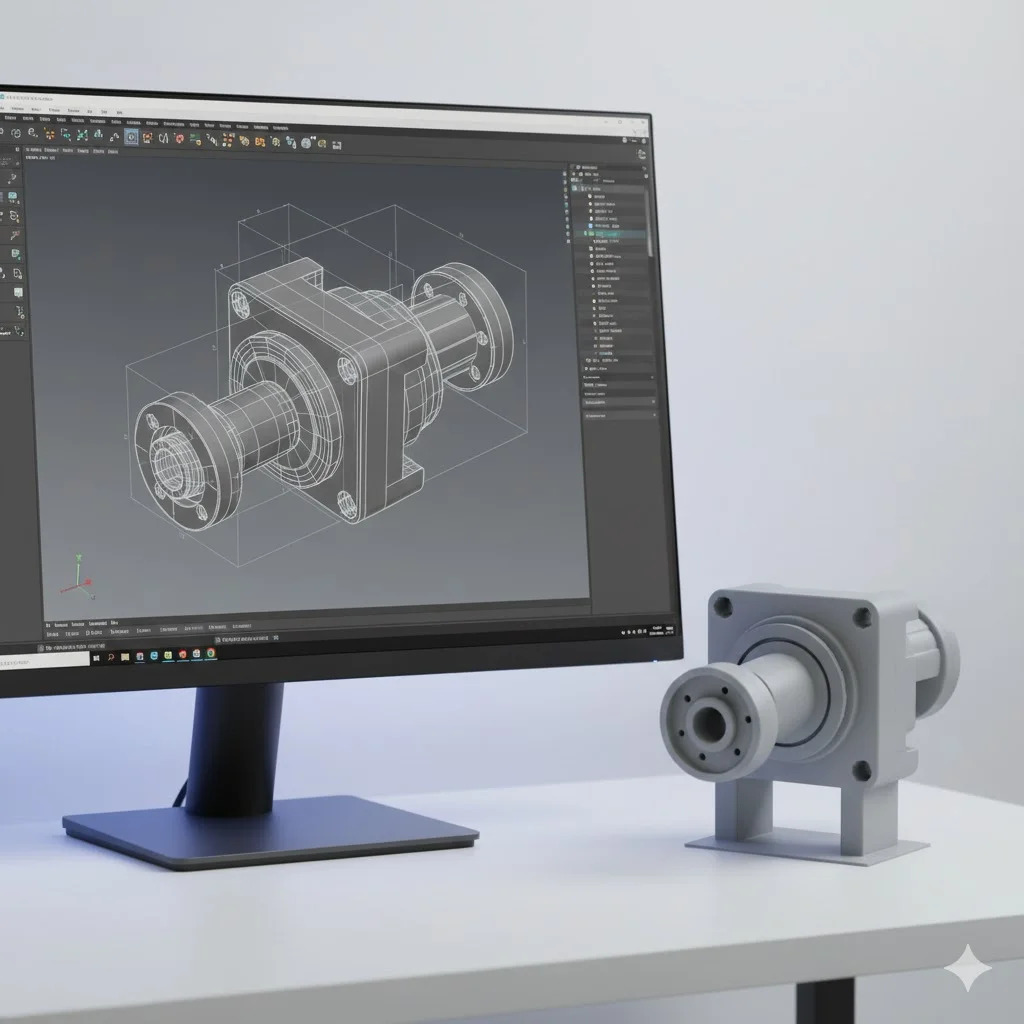
A machine builder needed to develop a custom gripper for a specific client application. Normally this would be a project of months.
They printed the first iteration within a day, tested it directly on the machine, discovered grip problems, iterated three times, and had a working solution within a week. The client was amazed at the speed.
Consumer product design
A design agency worked on a new product line. They had dozens of ideas, but traditional budget for three prototypes.
With 3D printing, they tested all ideas. The best were selected based on real tests, not guesses. The winning design wasn’t what they had expected beforehand - without extensive prototyping they would have missed it.
Tips for effective rapid prototyping
Start rough, refine later
Don’t waste time on perfect first prints. The goal is learning, not producing. Low resolution, minimal infill, fast prints. Perfection comes later.
Test with real users
Prototypes are worthless if you don’t test them. Give them to users, observe how they interact, listen to feedback. The pain points they find, you never thought of.
Document every iteration
Track what you test, what you learn, and what you change. Without documentation, you forget why decisions were made. This is essential when you later get questions.
Develop in parallel
You don’t have to work sequentially. Print multiple variants simultaneously, test them in parallel, combine the best elements. 3D printing makes this parallel approach economically feasible.
From prototype to production
Rapid prototyping isn’t just for the development phase. The same technology scales to pilot production and sometimes to full production.
At 3Dennis, we guide clients through this entire journey:
- Prototypes for development
- Pre-production samples for validation
- Pilot runs for market testing
- Series production where volumes justify it
The transition is seamless because the technology is the same. The prototype is literally representative of the end product.
Start today
Rapid prototyping isn’t future music - it’s available technology you can deploy tomorrow. The question isn’t whether it works, but how quickly you start.
Have a product in development? An idea that needs testing? A problem that needs solving?
Send us your design and we’ll show you how fast we can deliver your first prototype. Or start a conversation about how rapid prototyping fits into your development process.
The future of product development is fast and iterative. We’ll help you get there.
Keep reading
3D Printing Tolerances and Accuracy: What to Expect
How accurate is FDM 3D printing? Learn typical tolerances, factors affecting precision, and how to design parts for the best possible fit.
Designing for 3D Printing: Professional Tips
Learn how to design parts that are perfectly 3D printable. From wall thickness to overhangs - the most important design rules for successful prints explained.
ASA Filament: The Best Choice for Durable Outdoor Parts
ASA filament is UV-resistant, weather-resistant, and stronger than PETG for outdoor use. Find out when to choose ASA for your 3D printed outdoor components.
Need help with your project?
Contact us for custom 3D prints or B2B services.