Post-Processing 3D Prints: From Print to Finished Product
How to finish 3D prints professionally? From support removal to sanding, priming, and painting - complete guide to post-processing techniques.
Dennis
3Dennis
Contents
A 3D print straight off the printer is rarely the final product. Support material needs removing, surfaces may need smoothing, and maybe you want to add color or coating. This is where post-processing comes in.
At 3Dennis, we deliver prints that are ready to use. Here we share the techniques we use to achieve professional results.
Step 1: Support removal
Most functional prints require support structures. Removing them without damaging the print requires patience and the right tools.
Manual removal
For most supports, flush cutters and needle-nose pliers are your best friends. Cut supports close to the part, then carefully remove the remnants.
Tips:
- Work slowly and methodically
- Support areas at risk of damage with your fingers
- Twist supports off rather than pulling straight up
- For stubborn supports, use a heat gun briefly to soften
Soluble supports
If you have dual extrusion, soluble support materials (like PVA for PLA/PETG) dissolve in water. Just submerge the print and wait. This gives the cleanest result but requires compatible printer setup.
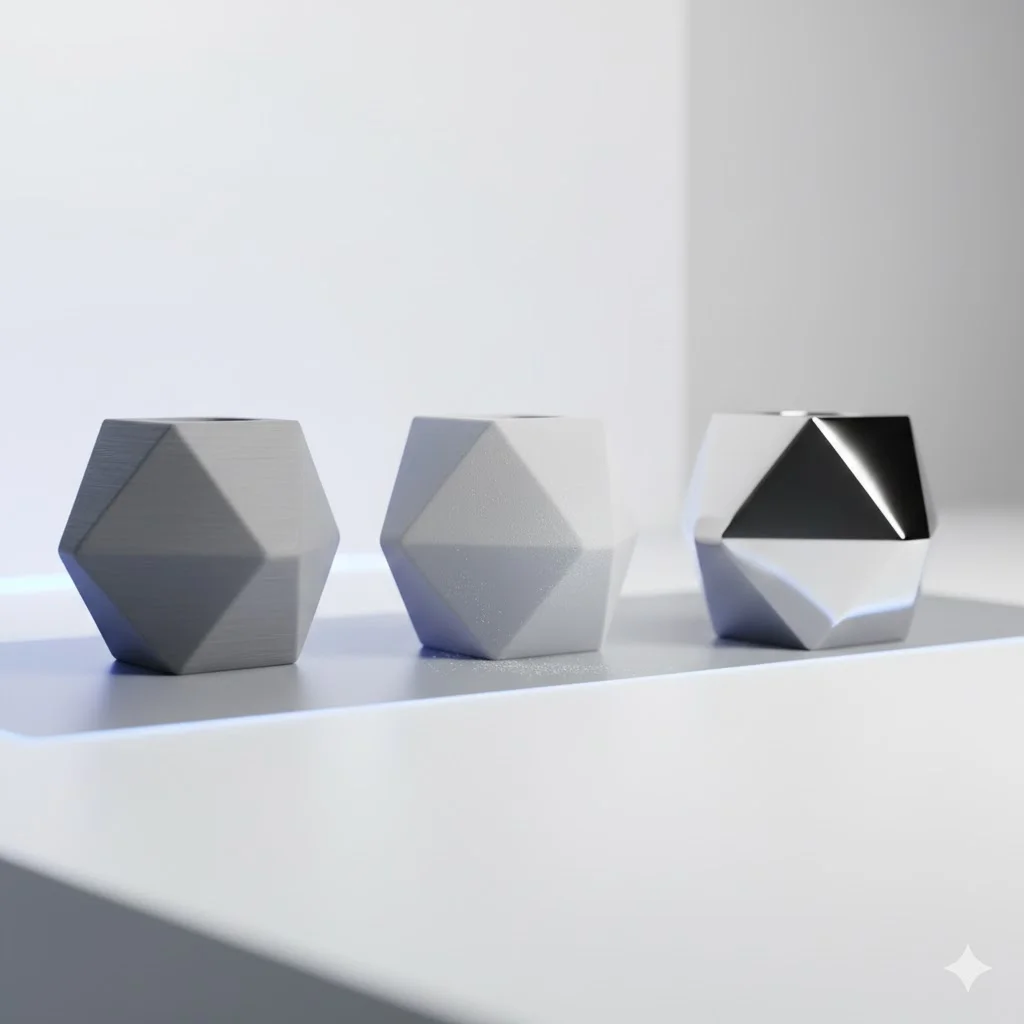
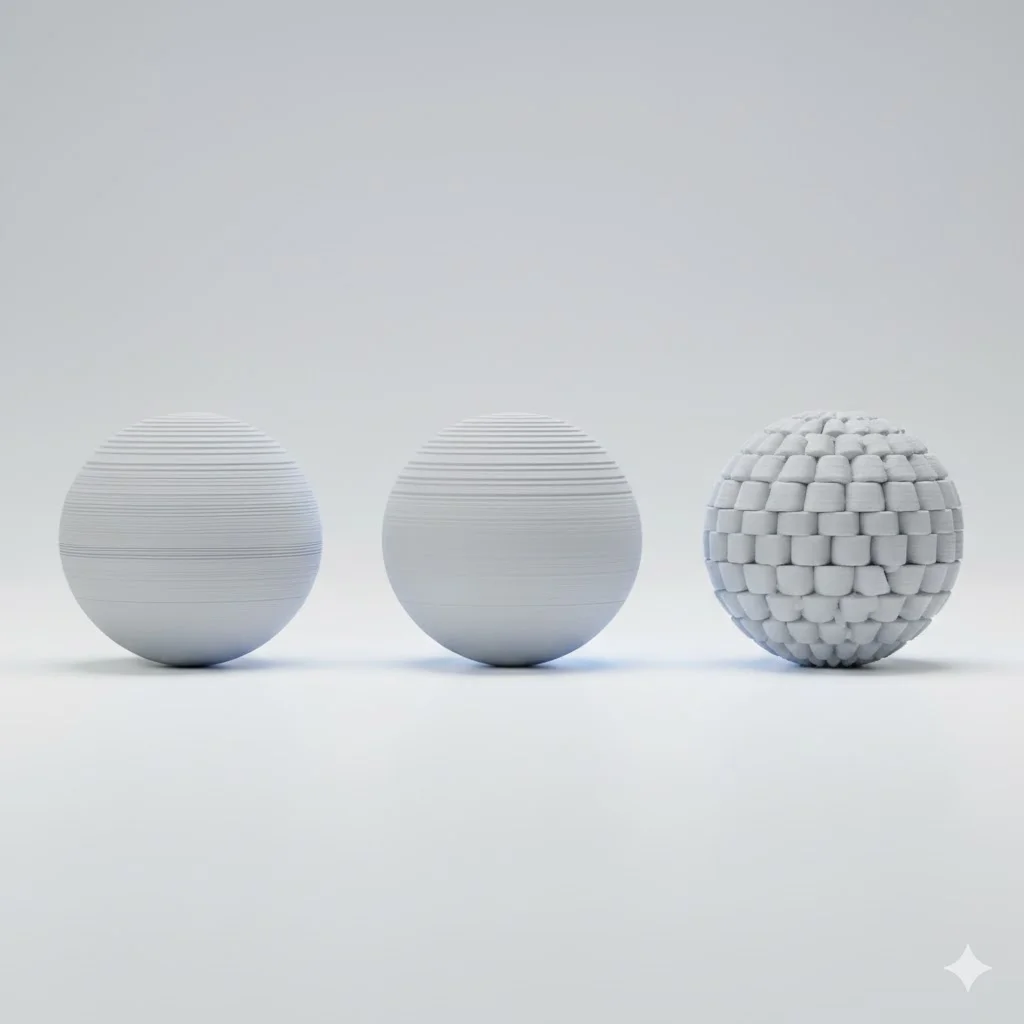
Step 2: Surface treatment
Layer lines are the hallmark of FDM printing. If you want a smooth finish, they need addressing.
Sanding
The classic approach: sand progressively from coarse to fine. Start at 120-180 grit to remove obvious layer lines, work through 320, 400, 600, up to 1000 or higher for a polished look.
For PLA: Sand dry or wet. Wet sanding reduces clogging and produces smoother results.
For PETG: More flexible than PLA, so it’s harder to sand. Use light pressure and don’t expect mirror finishes.
For ABS: Can be sanded smooth relatively easily.
Chemical smoothing
ABS can be vapor-smoothed with acetone. The surface melts slightly, filling layer lines and creating a glossy finish. This is dangerous if done improperly - use proper ventilation and safety equipment.
PLA has no good solvent for smoothing. Some use ethyl acetate or THF, but these are hazardous and results are inconsistent.
PETG cannot be effectively vapor smoothed.
Filler primer
Spray filler primer is excellent for hiding layer lines without extensive sanding. Apply multiple thin coats, sand between coats, and build up until smooth. This is faster than sanding alone for most parts.
Step 3: Priming
Before painting, parts need primer. Primer provides:
- Better paint adhesion
- More uniform base color
- Reveals remaining surface defects
Use plastic-compatible primer. Standard wood primer doesn’t adhere well to 3D printing plastics.
Apply in thin coats. Thick coats run and hide details. Multiple thin coats give better coverage and smoother results.
Primer types
Spray primer: Fastest and most consistent. Use in ventilated area.
Brush-on primer: Good for small areas or when spray isn’t practical.
Filler primer: Combines filling and priming in one step.
Step 4: Painting
With proper prep, 3D prints paint beautifully. The key is patience in preparation.
Paint types
Acrylic spray paint: Easy to use, quick drying, wide color selection. Our go-to for most parts.
Acrylic brush paint: Good for details and small parts. Multiple thin coats work better than one thick coat.
Enamel paint: More durable than acrylic, longer drying time. Good for parts that will be handled frequently.
Automotive paint: Professional finish but requires spray equipment and experience.
Painting technique
- Light base coat: Start with a thin coat that doesn’t fully cover
- Build up: Add additional thin coats until opaque
- Let each coat dry: Rushing causes problems
- Sand between coats if needed: For ultra-smooth finishes
Common mistakes
Too thick coats: Causes runs, drips, and orange peel texture.
Painting too soon: Primer and previous coats must be fully dry.
Dust contamination: Paint in a clean environment.
Wrong paint for the plastic: Some paints attack certain plastics.
Step 5: Clear coating
A clear coat protects paint and can add different finishes.
Gloss clear
Gives a shiny, polished look. Shows every surface imperfection, so prep must be perfect.
Matte clear
Hides minor imperfections and gives a professional look. Often more forgiving than gloss.
Satin clear
Between gloss and matte. A good compromise.
Alternative finishing techniques
Hydrographic printing
Water transfer printing applies complex patterns (carbon fiber, wood grain, camouflage) to 3D printed parts. Requires proper preparation but gives impressive results.
Electroplating
Real metal coating on plastic. Requires conductive coating first, then traditional electroplating. Gives genuine metal finish and properties.
Flocking
Applies short fibers to create a velvet-like texture. Good for interior surfaces, storage boxes, or decorative items.
When to skip post-processing
Not every print needs finishing. Often, a well-printed part in appropriate material is fine as-is.
Consider skipping post-processing when:
- Function matters more than appearance
- The part isn’t visible
- Material color is acceptable
- Time/cost doesn’t justify the improvement
At 3Dennis, we focus on functional parts that work out of the printer. Our standard PETG parts come with clean surfaces and removed supports, ready for use without additional finishing.
Need a professionally finished part?
For most of our products, standard finishing (support removal, inspection) is included. For special requirements - painting, assembly, custom finishing - contact us to discuss options.
Keep reading

Common 3D Printing Mistakes and How to Avoid Them
Learn from others' mistakes: the most common 3D printing problems and how to prevent them. From warping to layer adhesion - practical solutions explained.
Layer Height in 3D Printing: The Trade-off Between Quality and Speed
What's the best layer height for your 3D print? Learn how layer height affects quality, strength, and print time. Practical guidelines for every application.
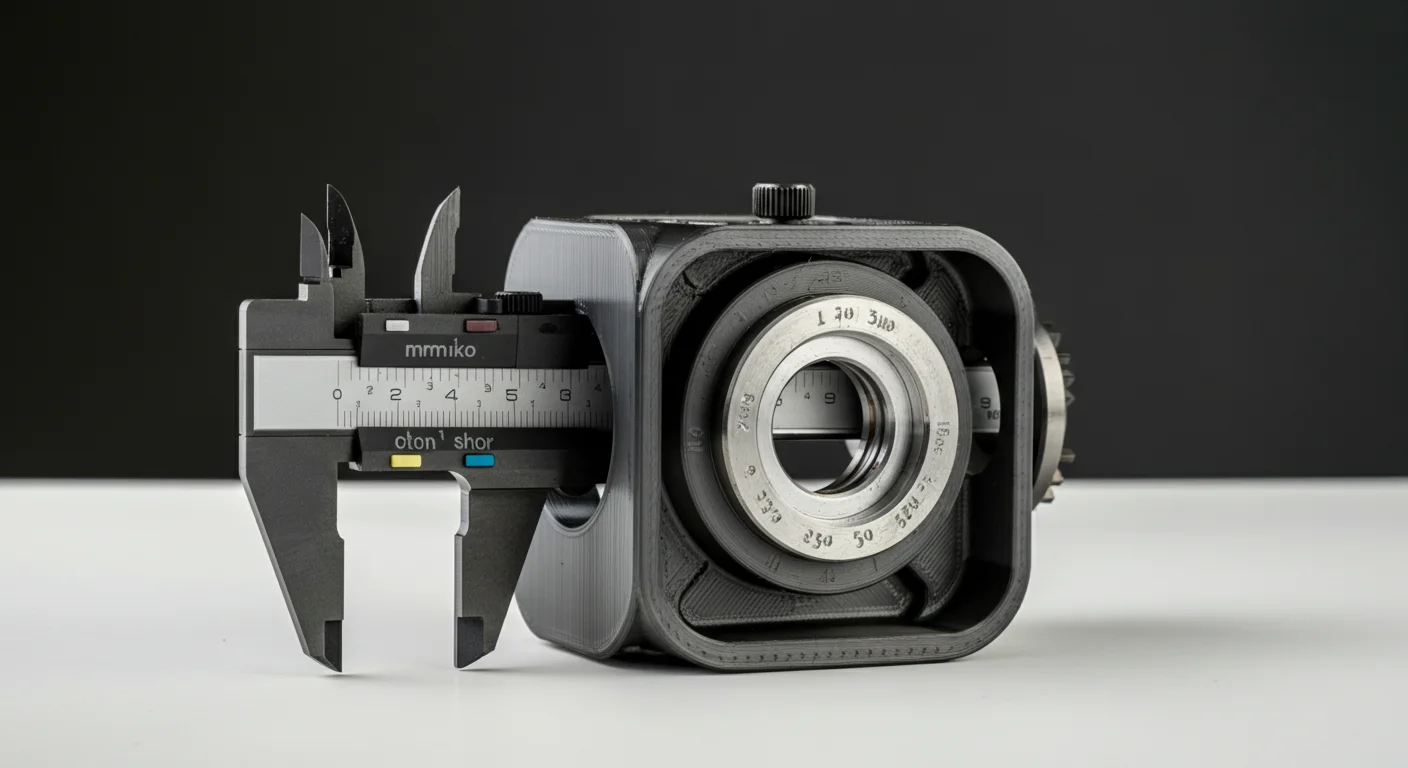
3D Printing Tolerances and Accuracy: What to Expect
How accurate is FDM 3D printing? Learn typical tolerances, factors affecting precision, and how to design parts for the best possible fit.
Need help with your project?
Contact us for custom 3D prints or B2B services.