Choosing the Right Infill Percentage: A Complete Guide
How much infill does your 3D print really need? Learn when to use 20%, 50%, or 100% infill for optimal strength, weight, and print time.
Dennis
3Dennis
Contents
One of the first choices you make when setting up a 3D print is the infill percentage. 20%? 50%? 100%? The number seems arbitrary if you don’t know what it means, but it has major implications for your print’s strength, weight, and print time.
In this article, we explain what infill really does and how to choose the right percentage for your application.
What is infill?
A 3D printed object is rarely completely solid. The interior is filled with a pattern - the infill. This pattern provides internal support for the top layers and contributes to the object’s strength.
The infill percentage indicates how much of the interior space is filled with material. At 20% infill, 20% of the interior is plastic, 80% is air. At 100% infill, the object is completely solid.
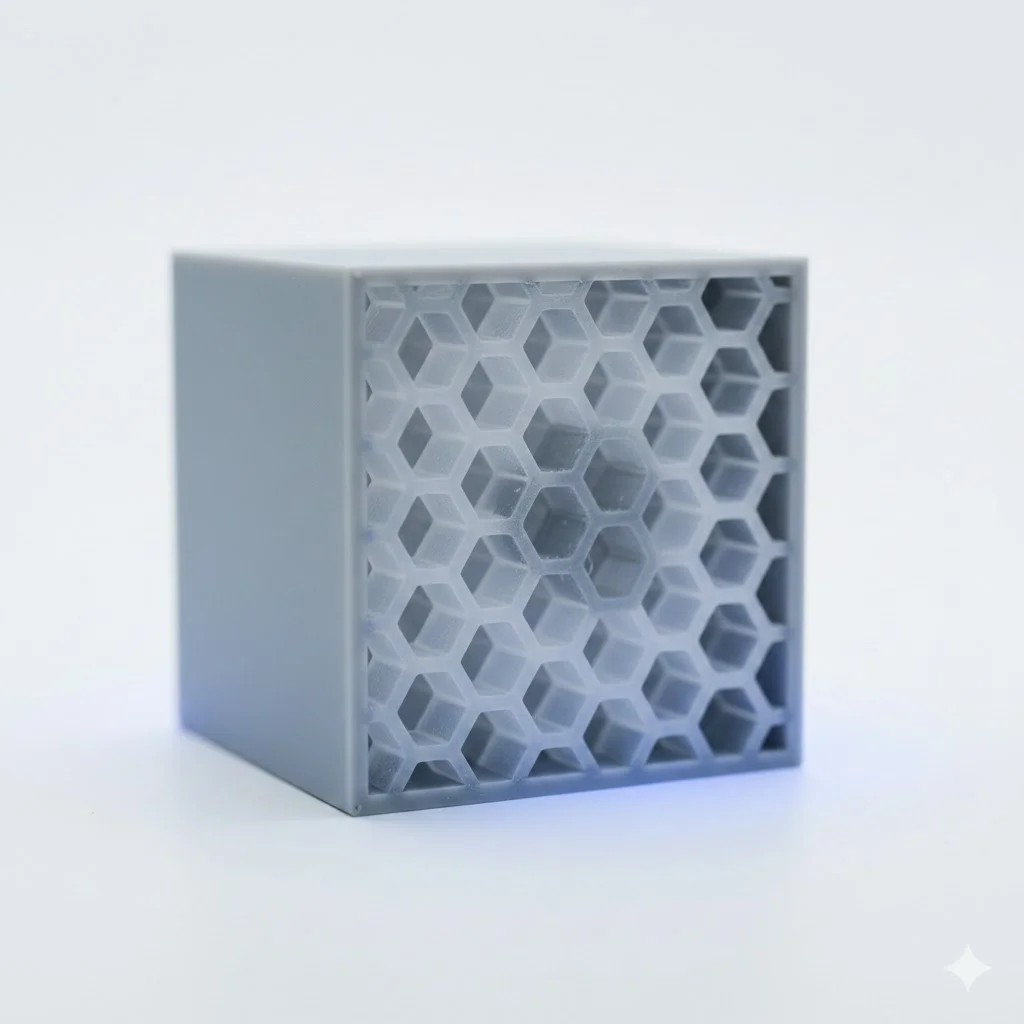
Common infill patterns
Besides the percentage, you also choose a pattern. The most common are:
Grid - Simple crossing lines. Fast to print, decent strength.
Gyroid - Wavy 3D pattern. Excellent strength in all directions, slightly slower.
Cubic - 3D cube structure. Good balance between strength and speed.
Lines - Parallel lines alternating per layer. Fast but weaker.
For most applications, gyroid or cubic is the best choice. They provide good strength without extreme print times.
When is 20% enough?
Low infill (15-25%) is suitable for:
Decorative objects - A vase, figurine, or display model doesn’t need to withstand forces. Low infill saves material and time.
Prototypes for fit testing - When testing if something fits, internal strength is often irrelevant.
Large objects where weight matters - A large print with high infill becomes unnecessarily heavy.
Items that only bear compressive load - Pure vertical compression can be handled with surprisingly little infill.
At 3Dennis, we use 20% as our standard for non-structural components. It’s the sweet spot between material usage and sufficient rigidity.
When do you need more?
Higher infill (40-60%) is better for:
Functional parts - Components that must bear loads need more internal structure.
Thin-walled designs - When walls are thin, infill contributes more to strength.
Parts with screw holes or inserts - The area around fastening points benefits from more material.
Objects subject to impact - A drop or collision is better absorbed with more infill.
When to go 100%?
Complete infill is rarely necessary, but there are exceptions:
Very small parts - At small scales, infill pattern barely fits anyway.
Maximum strength required - Structural components under high load.
Transparent materials - With transparent filament, infill pattern is visible; 100% gives a more solid look.
Note: 100% infill doesn’t mean 100% stronger. The relationship between infill and strength is not linear. From 50% to 100%, the strength increase is minimal while material use doubles.
The relationship between infill and strength
Research shows that strength increases rapidly up to about 40% infill, then flattens. This is because:
- Top and bottom layers provide most of the strength
- Walls (perimeters) carry the majority of the load
- Infill mainly supports internal structure
Practical advice: want a stronger print? Add extra walls (perimeters) instead of more infill. Two extra wall lines often help more than 20% extra infill.
Print time and material usage
The difference in print time is substantial:
| Infill | Relative time | Relative material |
|---|---|---|
| 20% | 100% | 100% |
| 40% | 130% | 140% |
| 60% | 160% | 180% |
| 100% | 220% | 260% |
A print with 100% infill takes more than twice as long as the same print with 20%. For large objects, this can mean the difference between an overnight print and a multi-day project.
Our recommendations
Based on years of experience with thousands of prints:
- 15-20% for decorative and non-functional parts
- 30-40% for functional parts with moderate load
- 50-60% for heavily loaded components
- 100% only for small parts or very specific applications
These are starting points. The ideal infill depends on your specific design, material, and application.
Doubts about what you need?
When ordering from 3Dennis, we advise on the optimal infill for your application. We know from experience what works for different types of parts.
Contact us with your project, and we’ll help you choose the right settings.
Keep reading
Layer Height in 3D Printing: The Trade-off Between Quality and Speed
What's the best layer height for your 3D print? Learn how layer height affects quality, strength, and print time. Practical guidelines for every application.

Common 3D Printing Mistakes and How to Avoid Them
Learn from others' mistakes: the most common 3D printing problems and how to prevent them. From warping to layer adhesion - practical solutions explained.
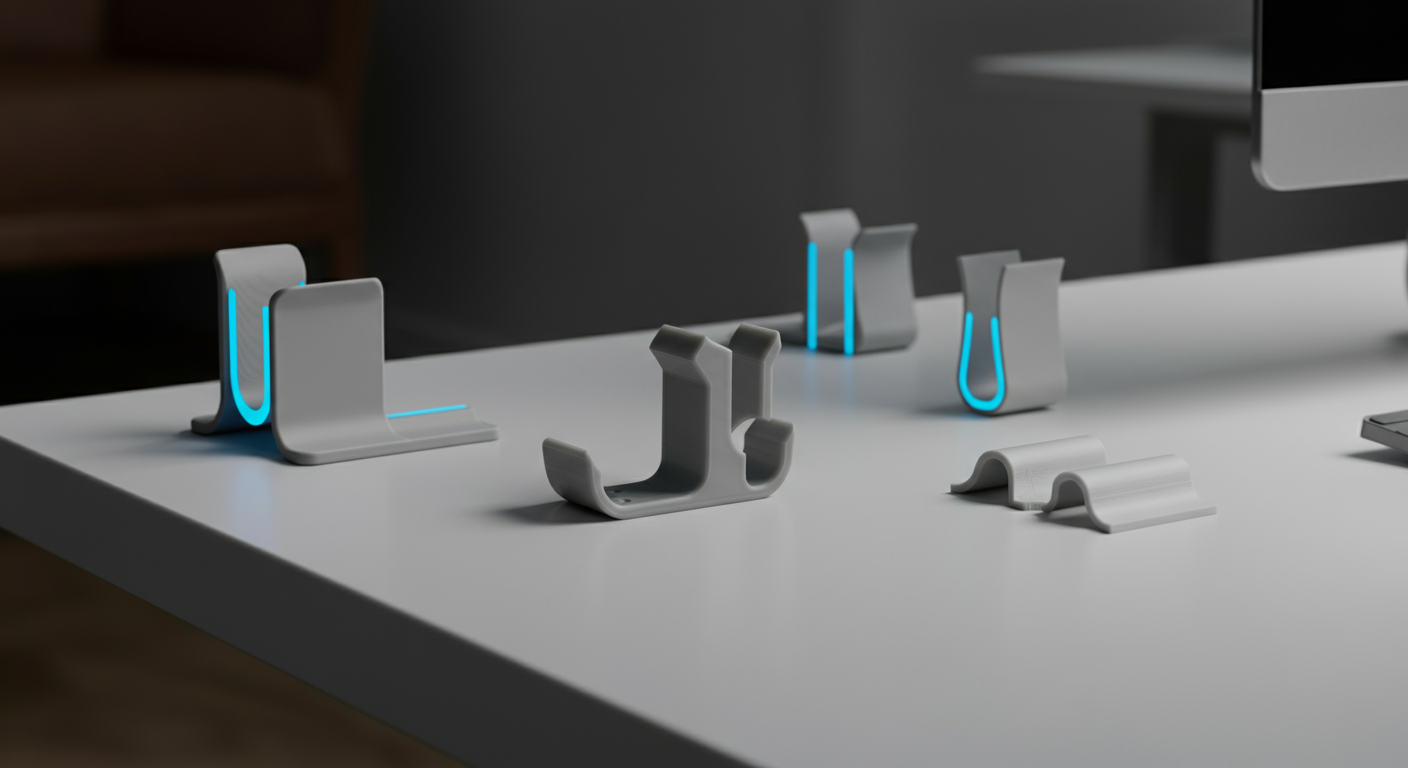
3D Printed Cable Management: Tame the Chaos on Your Desk
Discover how 3D printed cable management solutions keep your desk clean and organized. Custom clips, holders, and routing guides designed for any setup.
Need help with your project?
Contact us for custom 3D prints or B2B services.